Azure Web App Not Updating After Publish
Do you have problems with your Azure Web App not updating after you publish from Visual Studio or other tool? I had these problems with my Azure Linux ASP.NET Core Apps, but they can happen with any type of Azure Web App (or even Azure Functions). I will explain how I solved these problems and why they occured.
Actually, these updating problems are quite common. Here's an example from Stack Overflow.
Let's look step by step how to solve the updating problems.
Step 1 - Caching on the Server
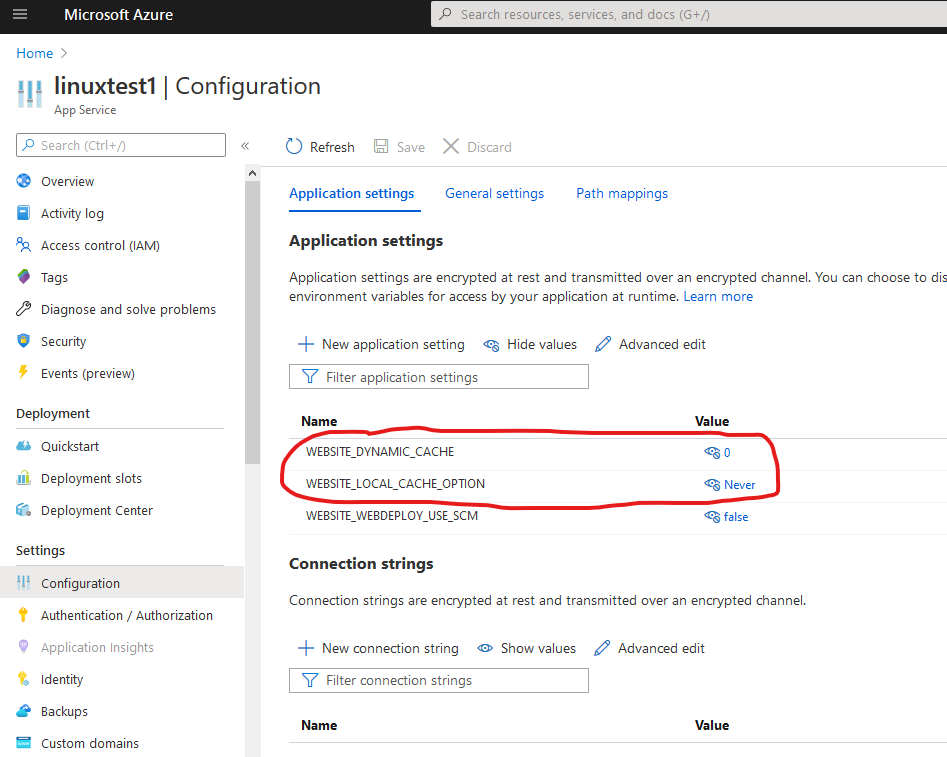
Azure Web Apps have two settings, WEBSITE_DYNAMIC_CACHE and WEBSITE_LOCAL_CACHE_OPTION, that control their file caching behavior. By default, web apps DO NOT read files directly from the Azure Storage where published files are written.
You can set the app settings WEBSITE_DYNAMIC_CACHE=0 and WEBSITE_LOCAL_CACHE_OPTION=Never to disable all file caching. This article describes how to change the caching.
Step 2 - Caching in the Browser
Have you really double-checked that your web app isn't cached in your local browser?
Just clicking the Refresh button in your browser won't necessarily reload resources. Images, scripts, css-files, will normally stay in your browser cache even after a page reload. Disable or clear your cache!
As example, this is how you can disable the cache in Firefox:
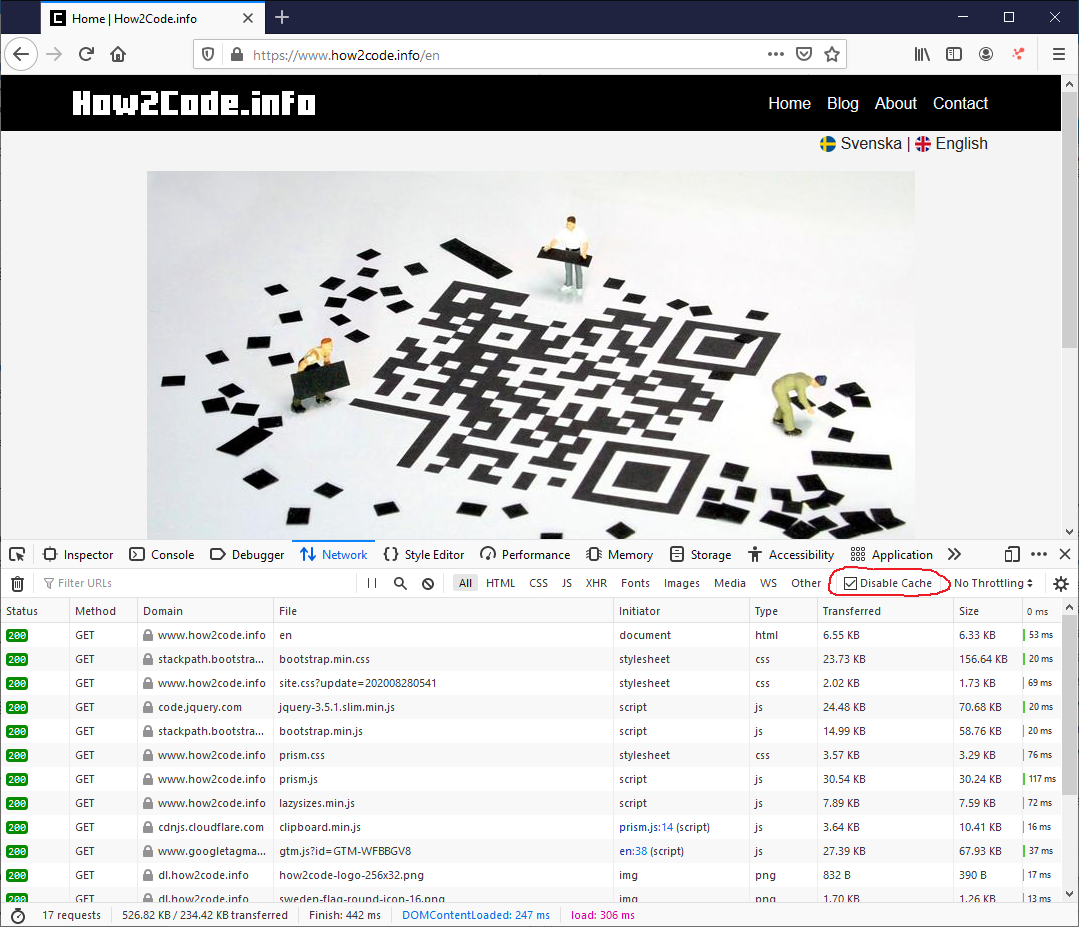
Also make sure you aren't connected through a web proxy that is caching your web app.
Step 3 - File Locking Issues
File locking issues are common on ASP.NET Core. This is because .NET Core doesn't have the shadow copying behavior of .NET Framework.
Using Deployment Slots
Deployment Slots are great, but they won't solve your updating problems. A slot behaves like a web app and you will get same file locking issues within a slot.
Manual Take Offline / Take Online
The quick-and-dirty way to fix locking issues is to manually stop your web app before updating and then starting it after the update is finished.
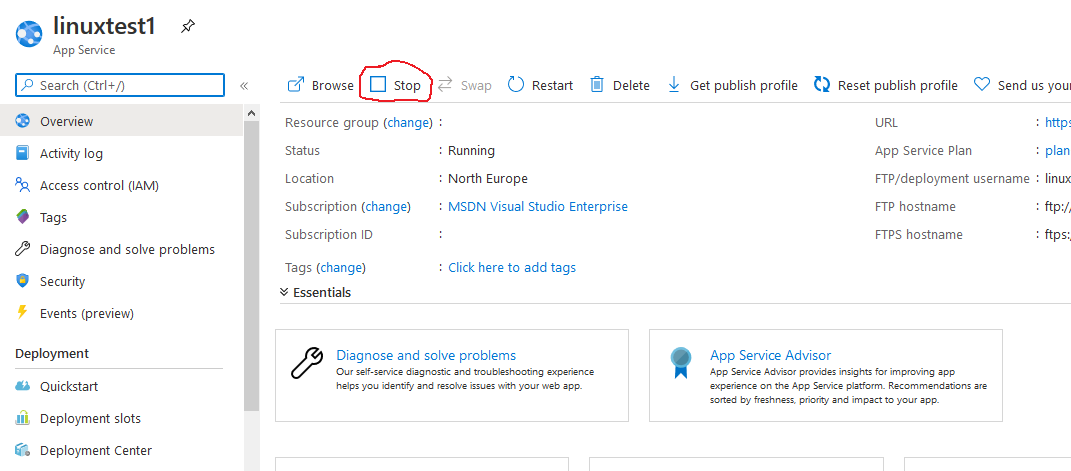
Make sure you stop the web app, not just restart it.
Automatic Take Offline / Take Online
app_offline.htm
IIS does have a special feature for taking down websites and showing a maintenance message. If you place a file called app_offline.htm in the web root directory, it will suspend your web app and redirect all requests to the app_offline.htm file. You could modify your publish profile so that it places this file in the web root and then removes it after publishing is finished.
Unfortunately this doesn't work on Azure Linux Web Apps. They don't use IIS.
Package Deployment Mode
Package Deployment Mode means that you upload your whole file structure a single zip-file and the web app runs directly from the zip-file. If you just make sure the zip-file always get a unique new name, you will never run into any file locking problems.
This works well also for Azure Linux Web Apps, but it doesn't work for all apps. In this article, I describe the Package Deployment mode and how to set it up.
Using Azure CLI
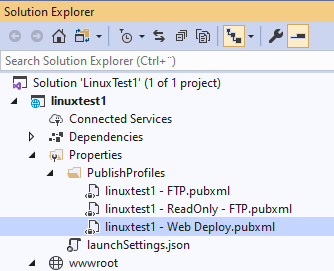
Azure CLI can be used to do most Azure tasks and it can easily be used from Visual Studio Publish Profiles. Download and install Azure CLI from here if you don't have it already.
You will need to edit your Publish Profile manually. Open the .pubxml file for editing:
Add the following code before the </Project> tag at the bottom of your .pubxml file.
 1  <Target Name="CustomActionsBeforePublish" BeforeTargets="BeforePublish">
 2    <Exec Command='az account show' WorkingDirectory="C:\Program Files (x86)\Microsoft SDKs\Azure\CLI2\wbin\" ContinueOnError="true" StandardOutputImportance="low" StandardErrorImportance="low"/>
 3    <Exec Command='az login' WorkingDirectory="C:\Program Files (x86)\Microsoft SDKs\Azure\CLI2\wbin\" Condition="$(MSBuildLastTaskResult) == false" StandardOutputImportance="low" StandardErrorImportance="low" />
 4    <Exec Command='az account set --subscription "my subscription"' WorkingDirectory="C:\Program Files (x86)\Microsoft SDKs\Azure\CLI2\wbin\" />
 5    <Exec Command='az webapp stop --resource-group "my resource group" --name "app name"' WorkingDirectory="C:\Program Files (x86)\Microsoft SDKs\Azure\CLI2\wbin\" />
 6  </Target>
 7
 8  <Target Name="CustomActionsAfterPublish" AfterTargets="AfterPublish">
 9    <Exec Command='az webapp start --resource-group "my resource group" --name "app name"' WorkingDirectory="C:\Program Files (x86)\Microsoft SDKs\Azure\CLI2\wbin\" />
10  </Target>
Update with your subscription, resource group and app name. Update the path to WorkingDirectory if your Azure CLI is installed elsewhere.
This is how the script works:
az account showis there only to check if you are logged in to Azure CLI.az loginwill execute only ifaz account showfailed. So you won't be asked for your login credentials unnecessarily.az webapp stopandaz webapp startwill do the job for you.
Note that Visual Studio will try to open your web app in the browser before it has finished starting. Therefore you will probably see this screen:
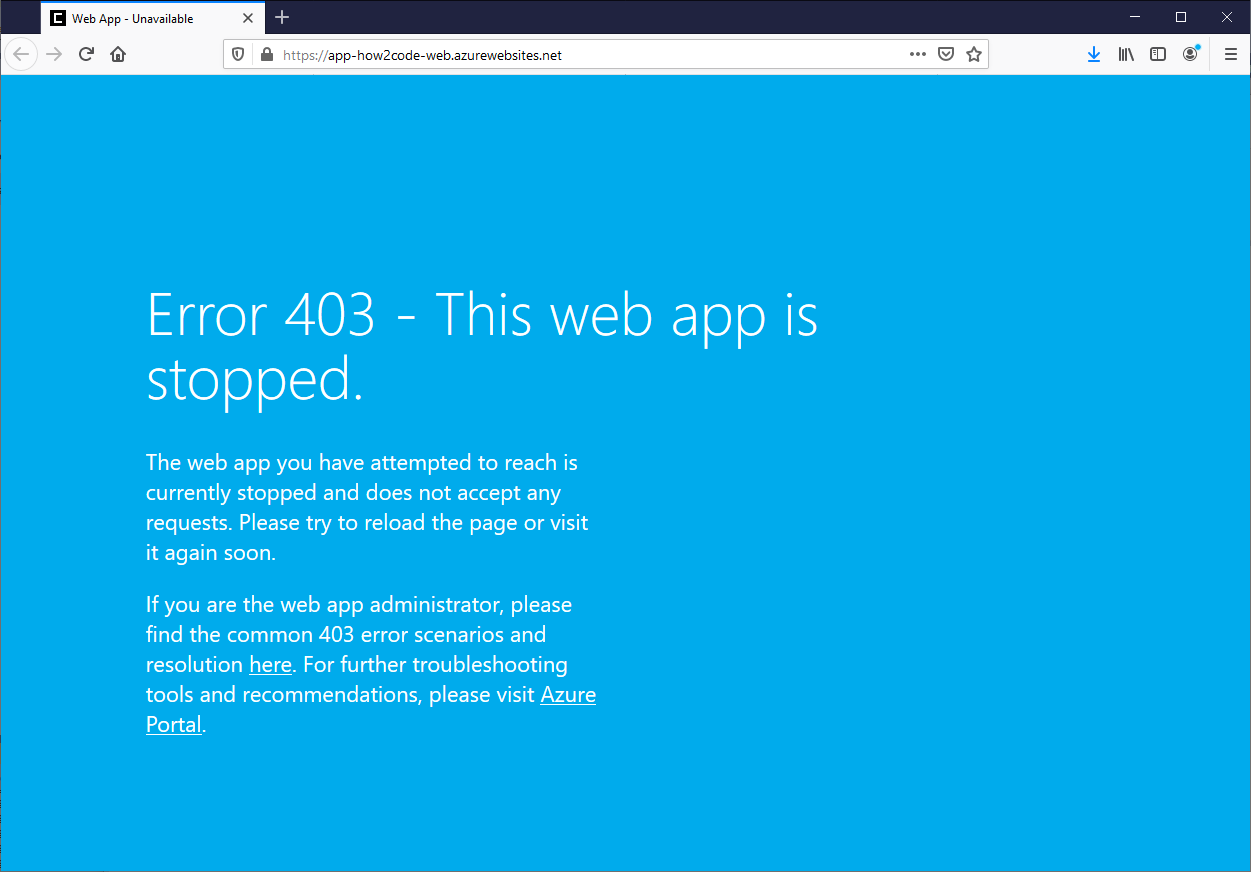
Just refresh your web browser if you see an error message like above. Your web app should soon be up and running.
If it still doesn't update
These are the problems I have seen so far. If you think you have run into a case of a web app not updating that is not solved by these steps, I'd be curious to know!
Related Posts
- Azure Linux Publish Error (Web deployment task failed. Could not connect to the remote computer)
- How To Run Your Azure Web App From Zip Package
- WEBSITE_DYNAMIC_CACHE and WEBSITE_LOCAL_CACHE_OPTION
- How to Connect to a SOAP API from Azure Data Factory
- Introduction to Azure Synapse Serverless SQL pools