How To Run Your Azure Web App From Zip Package
Running your Azure Web Apps (App Services) from zip packages is an alternative to the standard deployment model. I will here describe how to setup the package deployment model ("Run From Package") and what the advantages/disadvantages are.
Microsoft describes how to run your app from a zip package. I will try to simplify and expand their description here, also showing you how to automate the deployment.
Benefits
Running your Azure Web App (App Services) from a zip package gives you a couple of advantages:
- Eliminates file lock conflicts between deployment and runtime.
- Ensures only full-deployed apps are running at any time.
- Can be deployed to a production app (with restart).
- Improves the performance of Azure Resource Manager deployments.
- May reduce cold-start times, particularly for JavaScript functions with large npm package trees.
However, it also come with some disadvantages/limitations:
- It is a bit more complicated to setup.
- It will not be possible to deploy incrementally. You will always do a full deploy.
- It makes the whole wwwroot directory read-only. This prevents some web apps, like Wordpress, from working.
- I've also encountered other rare cases, where web apps don't behave properly when being run from zip-packages. You need to test!
Setting Up Package Deployment in Visual Studio
I will describe how to set it up for Visual Studio publishing. It could also be setup for CI/CD in a similar way.
Step 1 - Install Azure CLI (if you don't have it already)
My instructions are based on Azure CLI. You can download it from Microsoft here.
Step 2 - Enable Package Deployment in the Application Settings
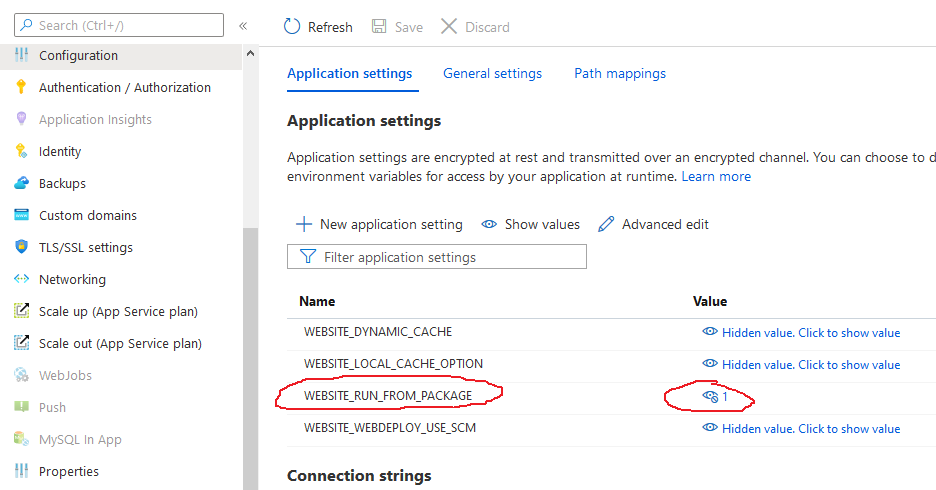
First you need to configure your Application Settings. Add a new setting called WEBSITE_RUN_FROM_PACKAGE and set the value to 1. This can either be done in the Azure Portal:
Or you can do it using Azure CLI:
1az webapp config appsettings set --resource-group <group-name> --name <app-name> --settings WEBSITE_RUN_FROM_PACKAGE="1"
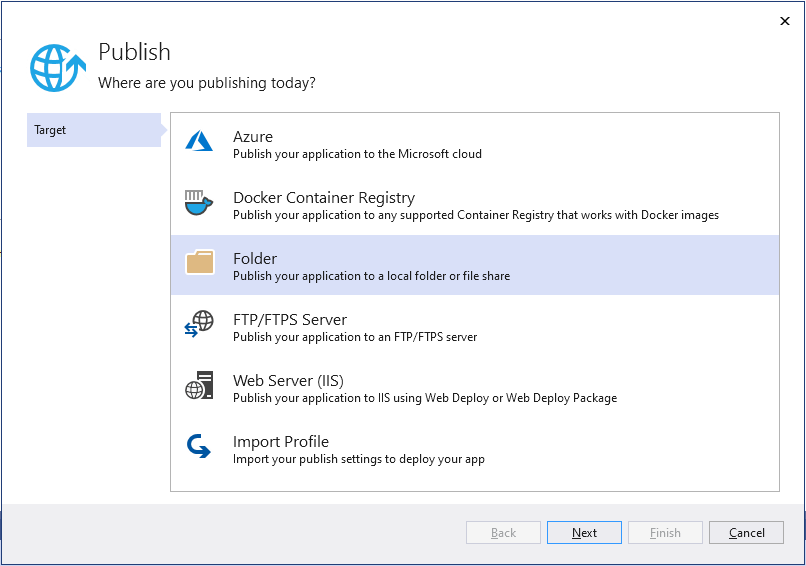
Step 3 - Create a new Publish Profile in Visual Studio
Choose Folder type and go with the default settings. This will place the output in bin\Release\netcoreapp3.1\publish\ in your project directory.
Step 4 - Test Manual Package Deployment
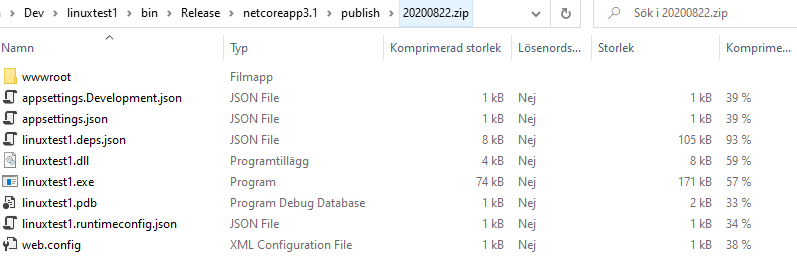
Publish your app (using your new Publish Profile). Then go to {Your project folder\bin\Release\netcoreapp3.1\publish} and create a zip-file of all the contents. You can do this in Windows by selecting all files and then Right Mouse Button ≫ Send To ≫ Compressed Folder. Make sure the zip-file has the files directly in the root.
Then open a command prompt and run the following commands:
1az login
2az account set --subscription "your subscription name"
3az webapp deployment source config-zip --resource-group "group-name" --name "app-name" --src "your-zipfile-name.zip"
(az login and az account set are only necessary if you are not already logged in through Azure CLI)
Now your zip-file should be uploaded into /home/data/SitePackages on your app services. You can use the SSH or Command Prompt tool in the Azure Portal to check:
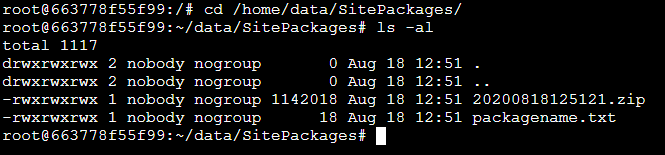
Note that you also get the packagename.txt file. It contains the name of your zip-file (and will always contain the name of the zip-file used be the webserver).
Your zip-file will be mounted in read-only mode at /home/site/wwwroot. You can test by trying to create a subdirectory there. It should fail.
Step 5 - Automate the Package Deployment
In Visual Studio, find the Folder Publish file. Open it for editing by double-clicking. I also suggest renaming it from FolderProfile to something like PackageDeployment.
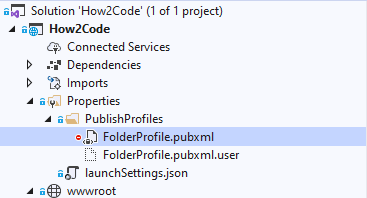
In the publish file, add a Target section as in the image below.
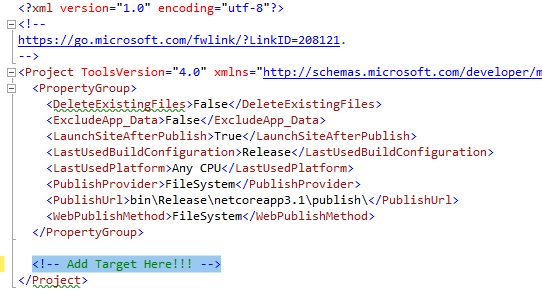
This is the code you should put inside the Target tag:
1  <Target Name="CustomActionsAfterPublish" AfterTargets="AfterPublish">
2    <PropertyGroup>
3      <ZipfileName>$([System.DateTime]::Now.ToString("yyyyMMddHHmmss")).zip</ZipfileName>
4    </PropertyGroup>
5    <ZipDirectory SourceDirectory="$(PublishUrl)" DestinationFile="$(MSBuildProjectDirectory)\bin\Release\$(ZipfileName)"/>
6    <Exec Command='az account show' WorkingDirectory="C:\Program Files (x86)\Microsoft SDKs\Azure\CLI2\wbin\" ContinueOnError="true" StandardOutputImportance="low" StandardErrorImportance="low"/>
7    <Exec Command='az login' WorkingDirectory="C:\Program Files (x86)\Microsoft SDKs\Azure\CLI2\wbin\" Condition="$(MSBuildLastTaskResult) == false" StandardOutputImportance="low" StandardErrorImportance="low" />
8    <Exec Command='az webapp deployment source config-zip --resource-group "my resource group" --name "my app name" --src $(MSBuildProjectDirectory)\bin\Release\$(ZipfileName)' WorkingDirectory="C:\Program Files (x86)\Microsoft SDKs\Azure\CLI2\wbin\" />
9  </Target>
In the code above:
- Replace
my resource groupwith your own resource group name. - Replace
my app namewith your own app name. - Edit WorkingDirectory if your Azure CLI is installed in some other place.
Run your Publishing Profile. Watch the magic happen!
Further Steps
Keep an eye on the /home/data/SitePackages directory. You may need to delete old zip-files from there, to avoid running out of storage space.
Also, note that your website will not open in your browser after publishing. I haven't looked more into how to open your Site URL automatically since I think it's not that important.